CONTACT US
Have questions or need a roofing estimate? Our team is ready to assist you with all your roofing needs. Reach out to us today, and we’ll provide prompt, professional service to ensure your home is safe and secure.
1
Call
(309) 948-4126
Real people. Real answers. Same-day slots available.
3
Visit
801 1st st E ste 2, Milan IL 61264
Visit our Milan office to see materials and plan your project.
From repairs to replacements, our expert team provides durable and trustworthy roofing services to protect your home. Contact us today!
Our Services
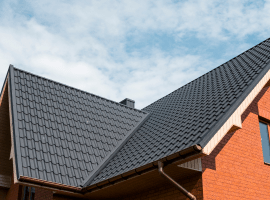
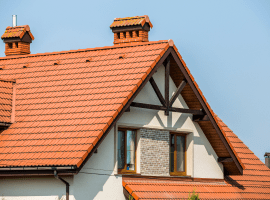
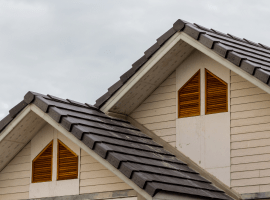
Roofing
Siding
Storm Damage/Insurance
Additional Services
Financing
Latest Blogs

21 June, 2023
The solution to your
Roof problems

22 June, 202
Quick and efficient Roof repairs.
Contact Now
Office Location
801 1st st E ste 2, Milan IL 61264
Office Info
(309) 948-4126
Email Info
Website
www.roofqc.com